K40 is an ugly duckling
Hop in, we’re unfucking Omtech’s K40 40W CO2 laser!

K40 is a China designed construction. Assembly made out of simple, cheap parts. Back in the day people could use k40.se to improve their machines. Several resellers picked up the design, improved upon it and sell it as a capable machine.
It’s a machine rocking a 40W CO2 laser. It’s capable but it isn’t without its flaws.
Lets start with its lighting. The cutting area has a LED strip, illuminating the cut material. The power cable is soldered directly onto the LED strip. While I moved the light a bit one of the cables broke off. Not surprising at all. I have soldered a JST connector onto the light strip and onto the cable - will do, for now, but this doesn’t address lighting’s biggest sin. The light is unable to illuminate the actual cutting space, as the laser head and its rail obstructs the light…
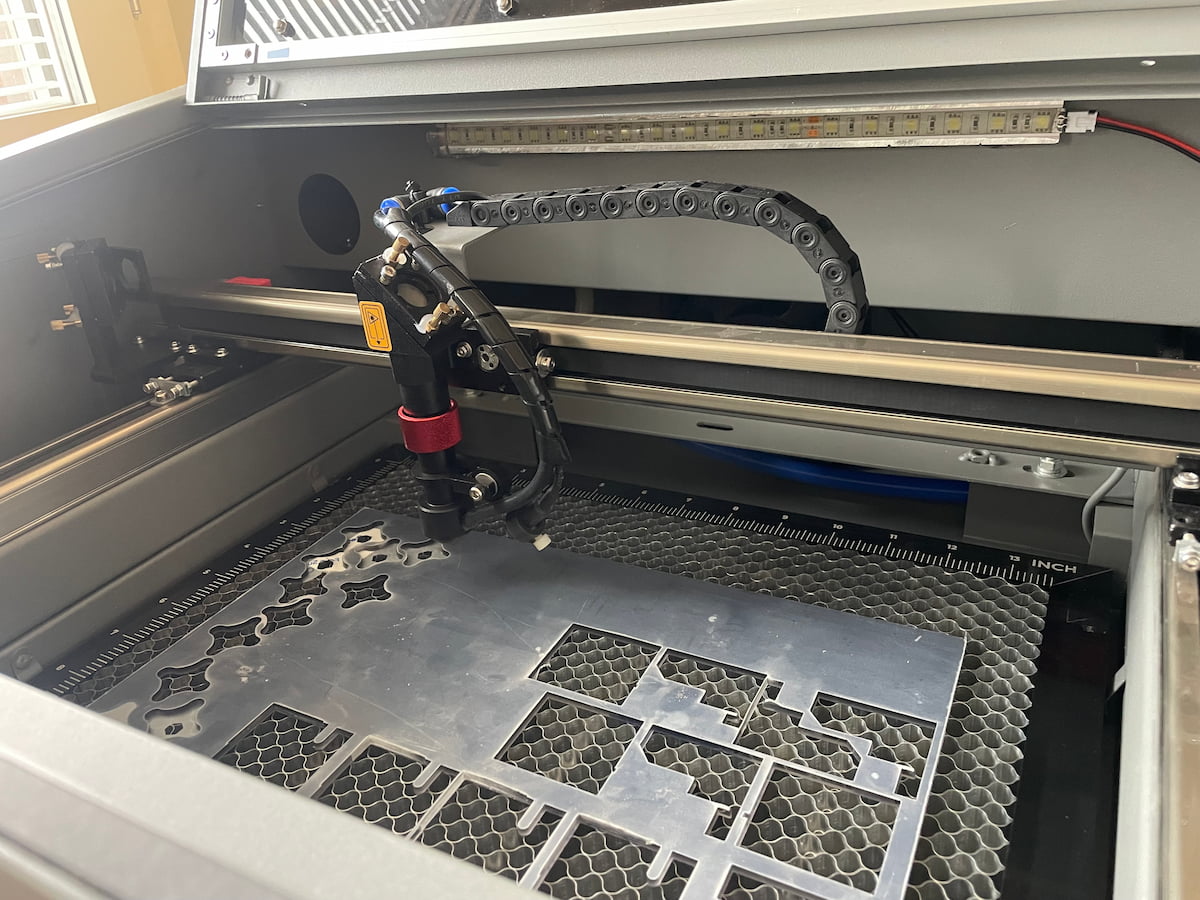
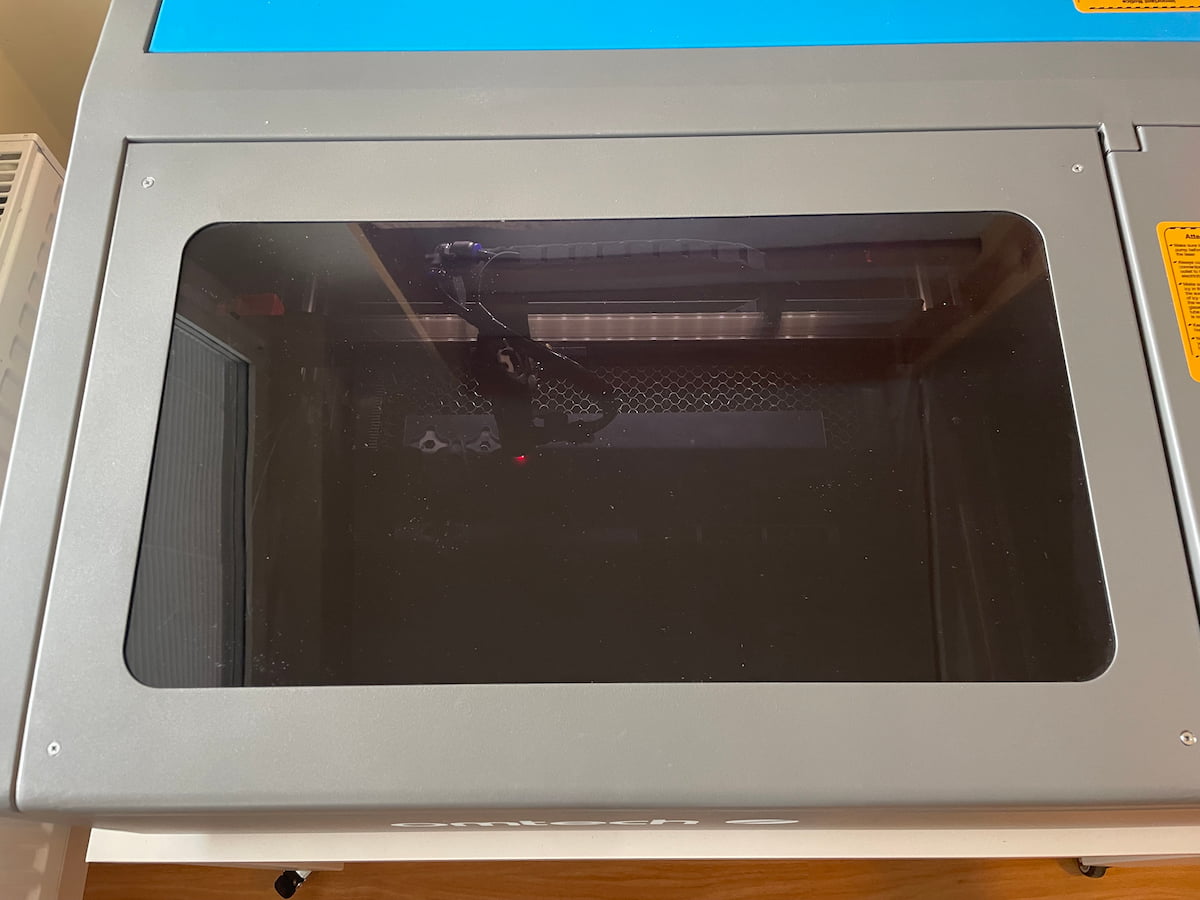
Solution is obvious. The light should be on the opposite side of the cutting area. The light needs to reach the actual thing it’s supposed to illuminate.
The other side of that space holds a sheet of metal, protecting a motor with its long rod. I guess the picture below would be considered a spoiler, but I do not have a pre-solution picture of that part. The solution was to cut slots in that sheet of metal and mount the light behind it. There’s plenty of space for that.
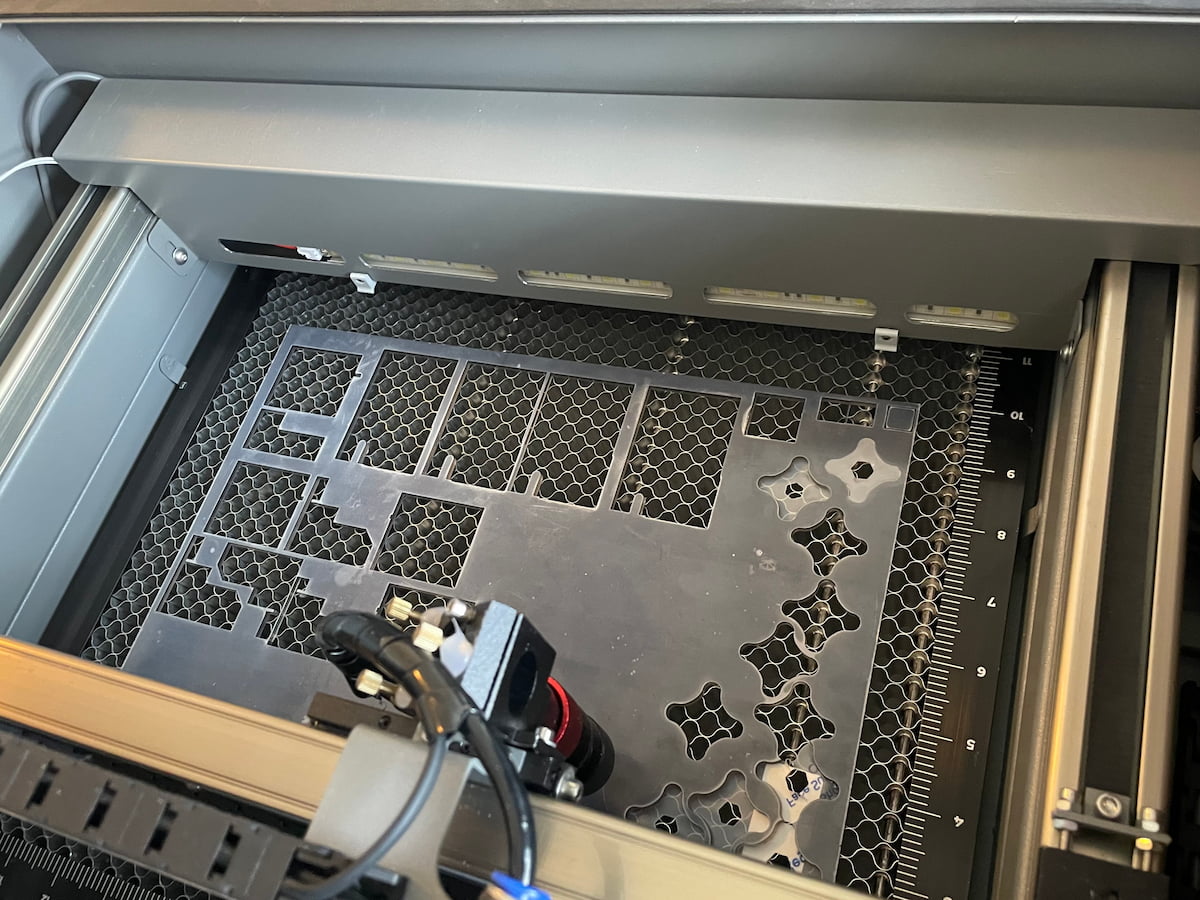
Before we get to marvel at the effectiveness of this solution, we’ll appreciate the effort it took to make this happen.
I didn’t really plan the size of those slots. I asked my gut and my gut said “I have a feeling on this one!”, which I chose to follow.
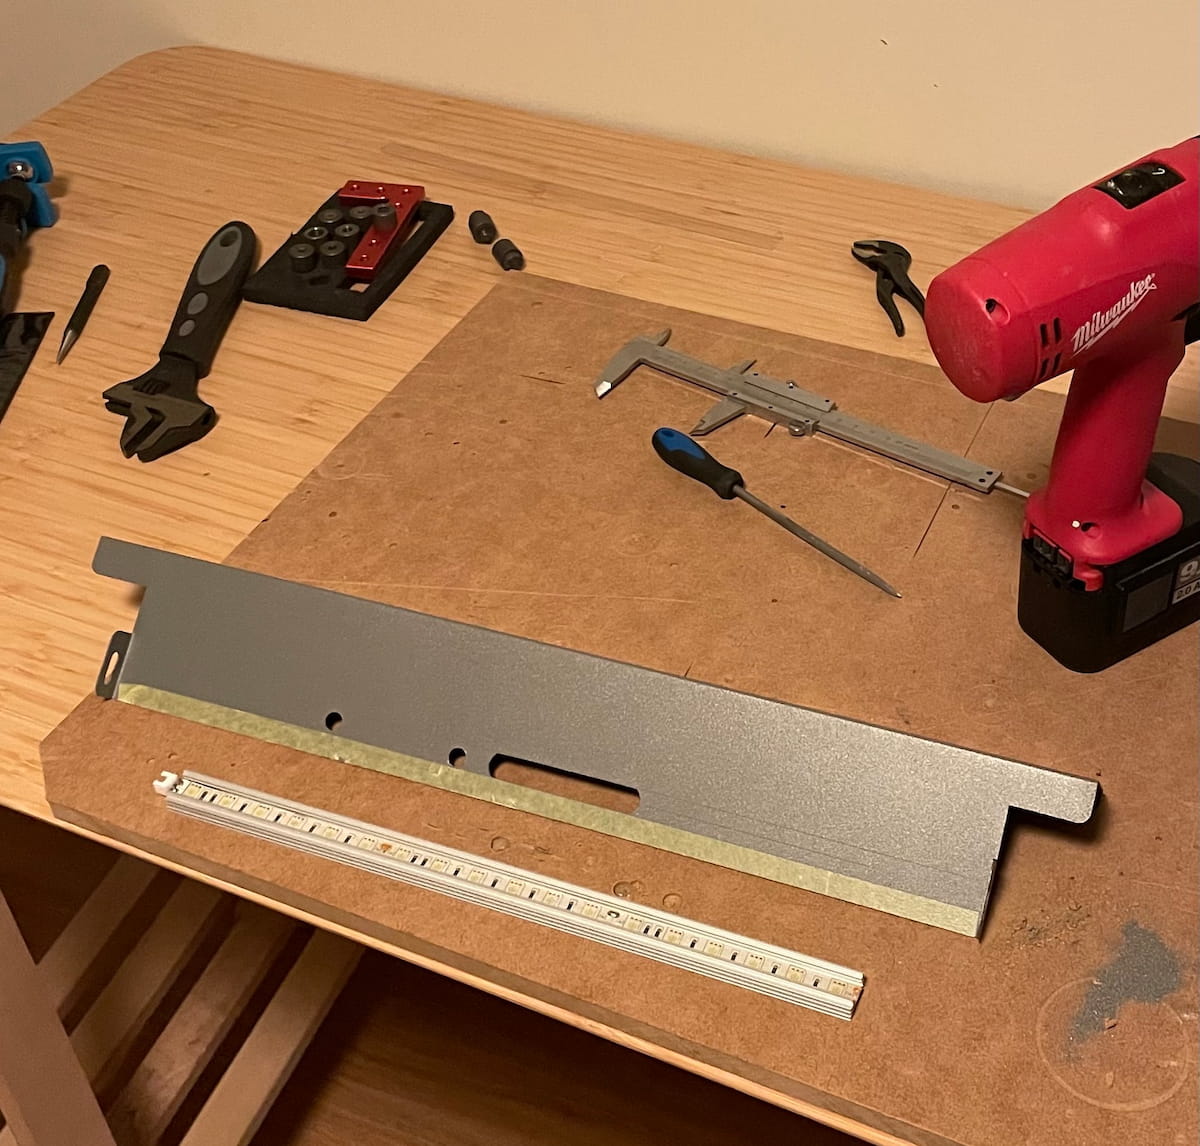
The process looked as follow:
- mark the edges of the slots width
- mark where to drill the slot ending holes
- drill the holes - clamp that red L shape, with its drill guide, to avoid the drill wondering on the metal, which results in irregular shaped (slightly triangular) holes
- cut the metal between the holes, using Dremel’s rotary tool with its metal cutting wheel
- file the cut edges until they’re clean and straight - this one is a PITA
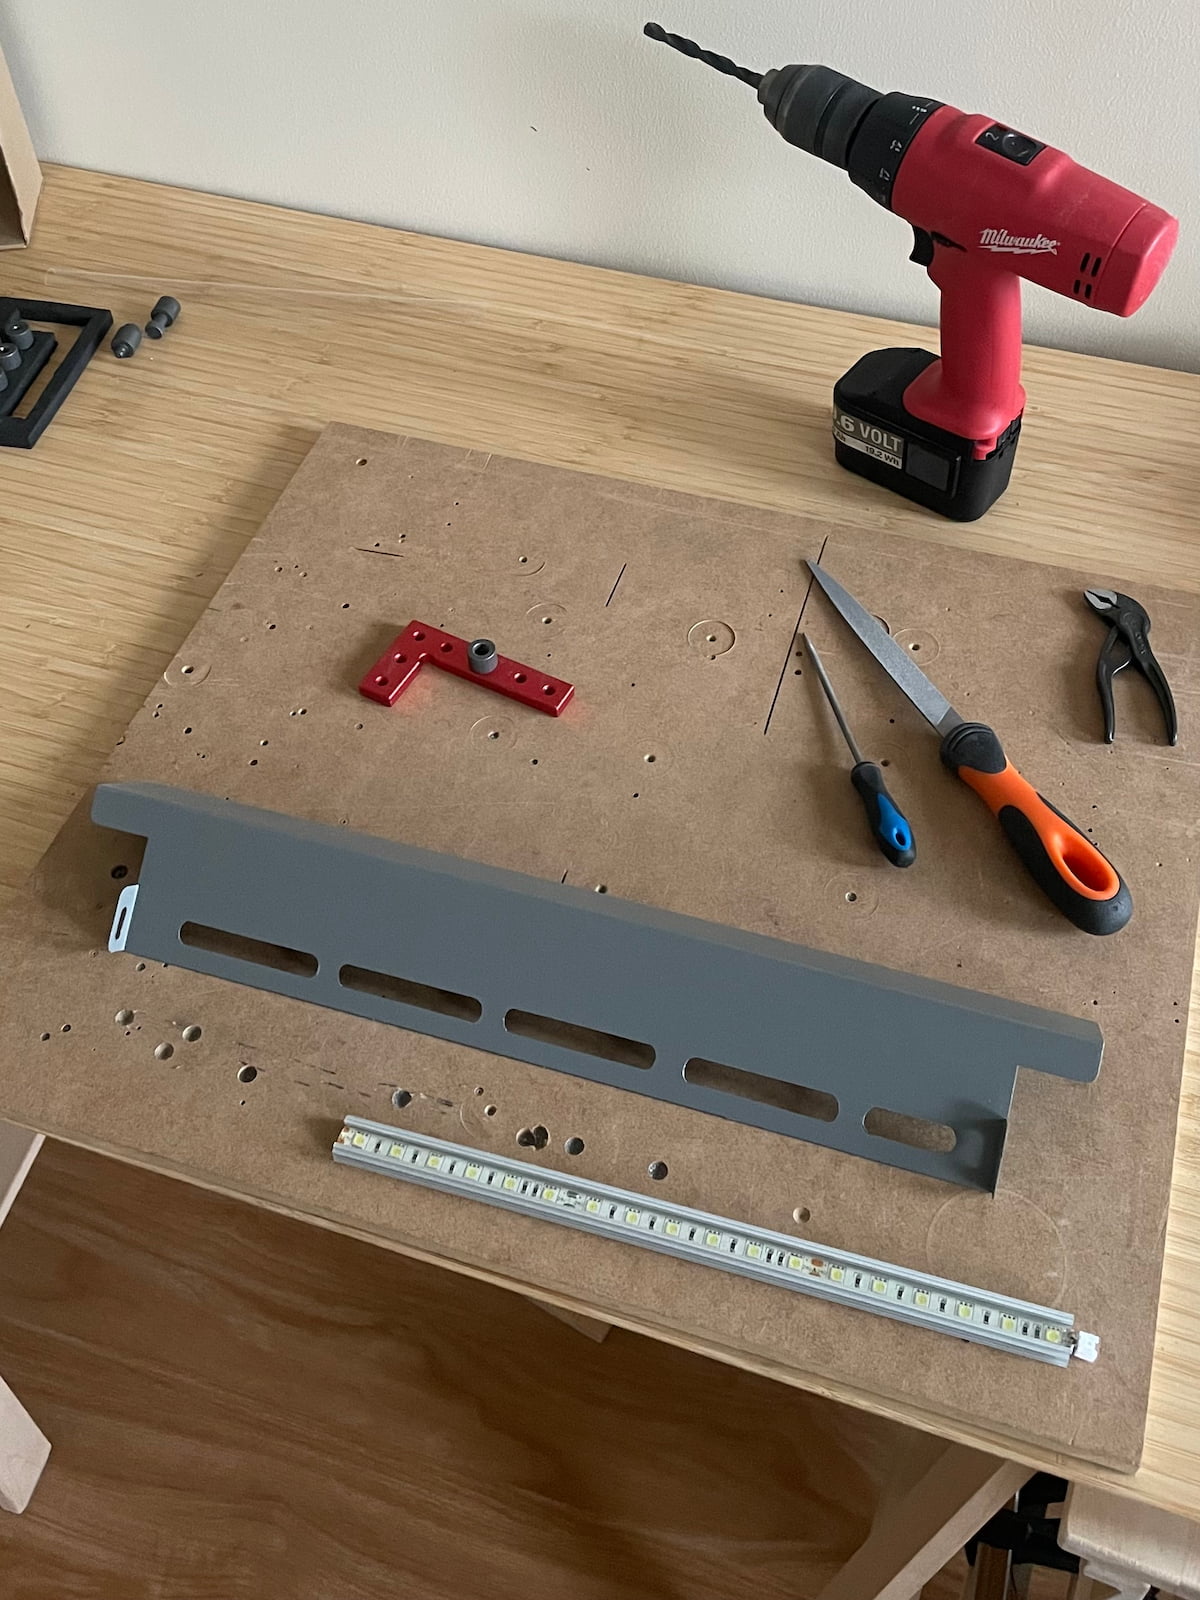
I’m pretty happy with the result, considering a significant hand work involved.
I have 3D printed two holders, mounted them with set screws and connected the LED strip.
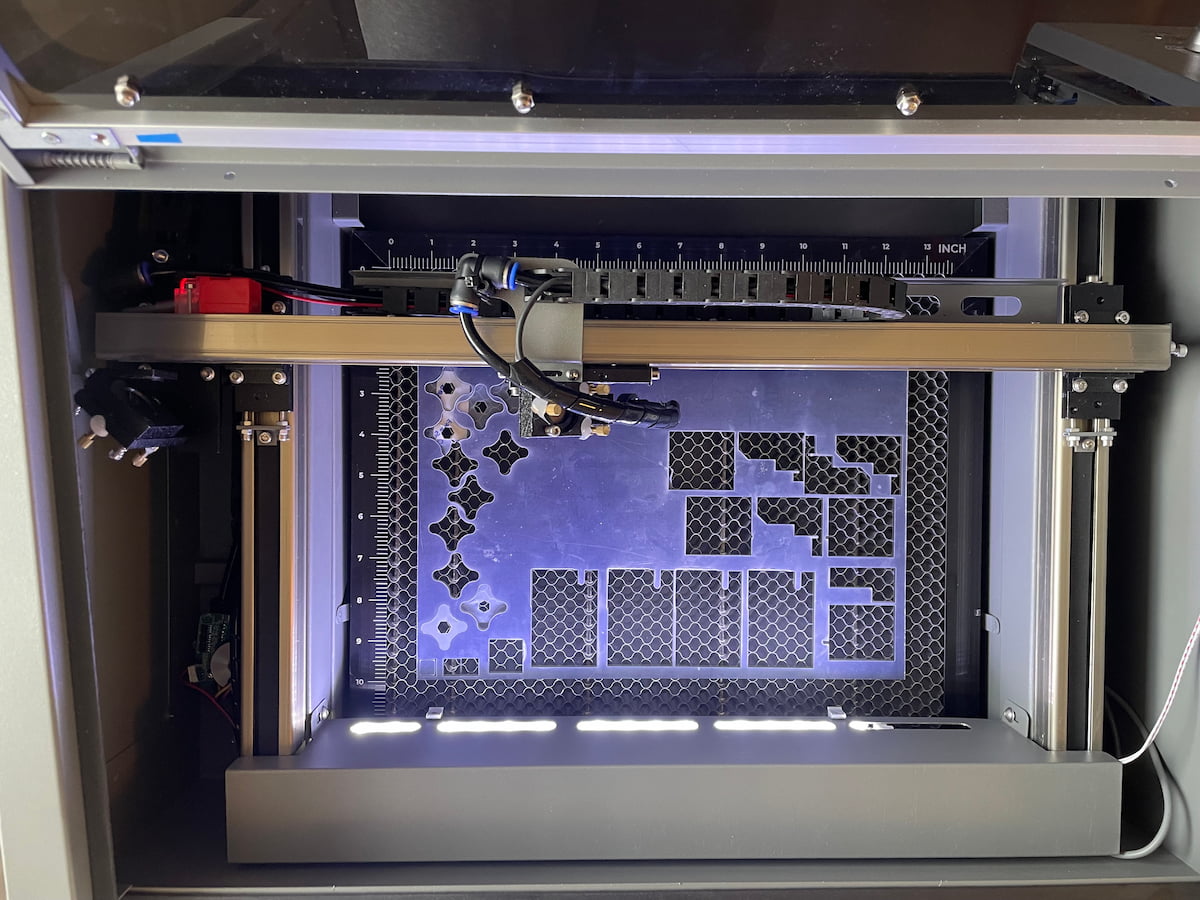
The effectiveness of this solution can only be judged with lid closed.
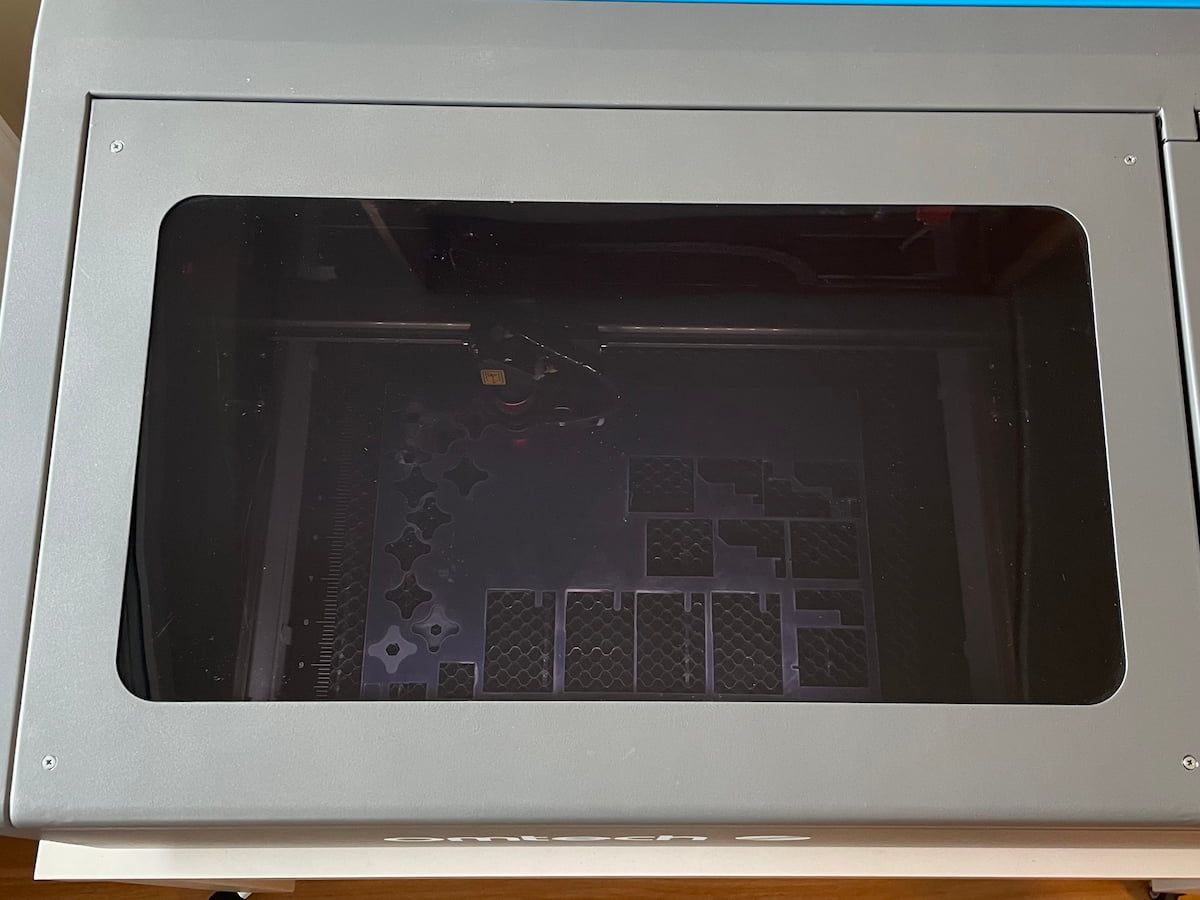
That’s good! Night and day difference. It might benefit from several more LEDs but this will do for now. It also looks better in person than it does on the photo.
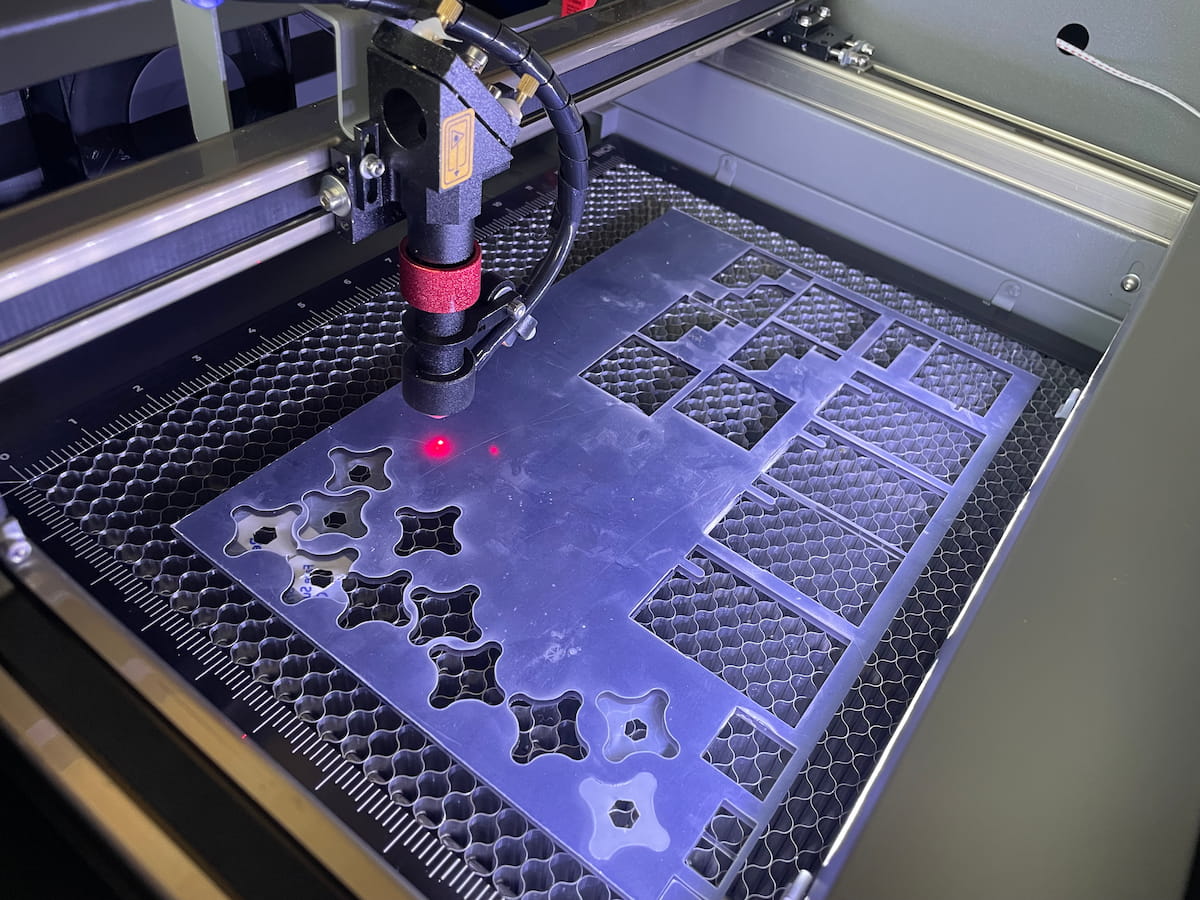
Now this light is my friend, my ally. Its photons bounce off of the cut material and the laser head - which will make any maintenance easier - filling my eyes with relevant information.
One more thing I did was trim the high of the aluminium profile, in which the LED strip sits. I’ve found a very similar LED profile on AliExpress. Their solution uses a PCB, sitting in a groove of the aluminium profile. In my case the LED strip, covered in silicon, is glued to the bottom of that profile.
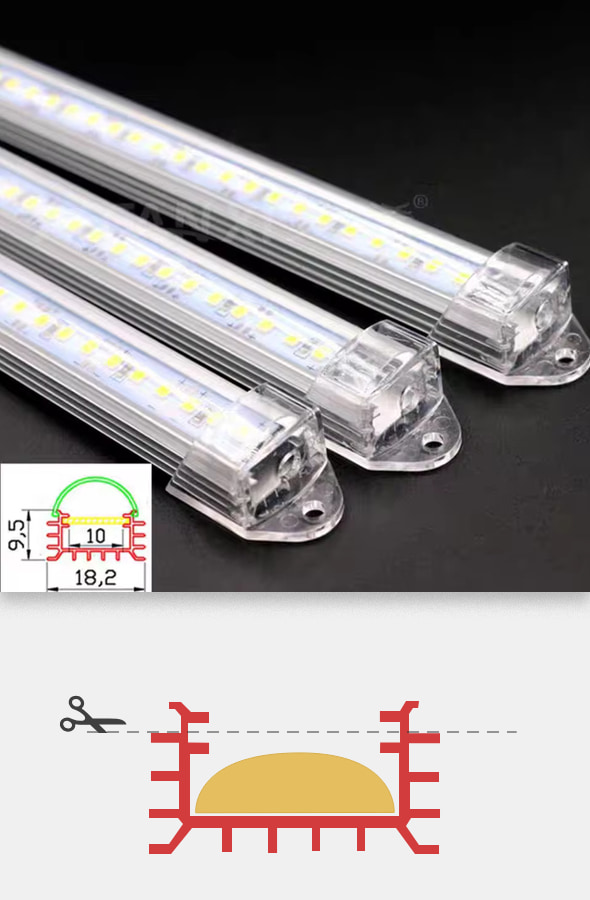
The profile is flush with the metal sheet, it’s mounted to. I thought the light coming through the slots won’t be enough. Bringing the LED strip closer to the slots widens the light’s frustrum angle. The image above shows the aluminium profile and the height at which I trimmed it. The profile’s height was reduced from 9.5mm to around 7mmm. Done with dremel and hand filing, in order to get a clean surface, which can sit flush against the metal sheet.
I have more ideas on how to improve this laser cutter. Adding BTT’s Rodent control board would be a good one. It’d make the control wireless.